Internet Explorer is not supported
Sorry, please use another browser such as Google Chrome or MozillaFirefox
An innovators view on scanner accuracy
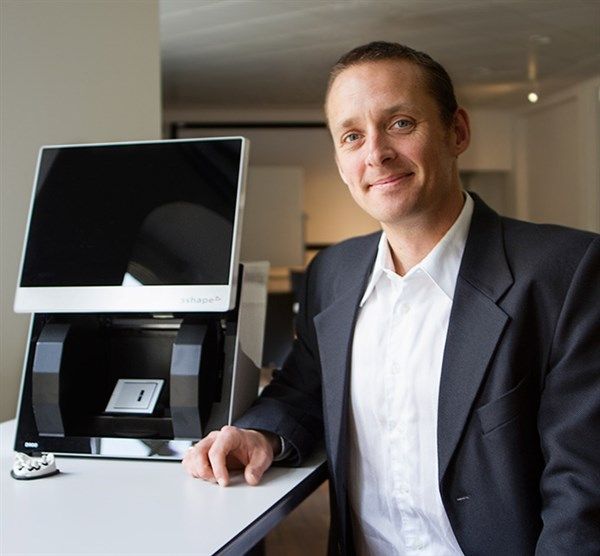
Interview with Dr. Thomas Allin, Project Manager for Scanner Development at 3Shape Technology Research in Copenhagen.
3Shapes engineers maintained a sharp focus on scanning accuracy when developing the D800 and D900 scanners. Why? Because dental labs and milling centers are demanding reliable and accurate scanning in order to significantly reduce time and costs – especially when working with demanding restorations such as implant bars and bridges. 3Shapes innovation-journey has resulted in an array of fresh technology breakthroughs for enhancing scanning accuracy.
To learn more, we went straight into the heart of 3Shape innovation to speak with Dr. Thomas Allin, Project Manager for Scanner Development at 3Shape Technology Research in Copenhagen:

- Why is accuracy important in 3D dental scanners?
3D scanning is where we transform models from a physical to a digital format - and the accuracy levels achieved here will be passed along to the steps for design and final manufacturing. A business needs to trust its equipment in order to maintain confidence in the quality of the products it delivers. While any 3D lab scanner should live up to established standards accepted by the industry – at 3Shape, we want our scanners to be even better. Our efforts produce scanner products that are without doubt among the best-in-class in the dental industry so that our users can rely on the accuracy of their models in digital format.
- What are the key engineering challenges that must be met in order to achieve high accuracy in a 3D scanner?
Basically, its all about thoroughly knowing your system. Every component matters – all the way down to the tiniest screw. Our selection of optimal materials, careful balancing between design parameters, and the unique skills of our developers are what make our products among the markets best in terms of accuracy. When striving for those last few microns, ordinary mechanical production methods wont be enough – and that is where ingenuity, innovation and cross-disciplinary intelligence come together to create true breakthroughs.
- What special design aspects for accuracy have you built into the D900 scanner?
The D900 scanner is truly a novel product in a number of ways. Our goal was to provide dental labs with a rich set of features, including enhanced scan speed, color texture, and a better way to achieve multi-die scanning while enhancing accuracy and reliability. We came up with an entirely new camera system, where the main structure is a real piece of art. We used a thermally stable special metal alloy to ensure consistent accuracy even in demanding lab environments and the optical system with blue-LED has been optimized for speckle-free capture. We regularly produce quite astonishing test results. Just recently, we ran a benchmark against a high-end quality control scanner that is accurate to 5 µm, and the correlation with our 3Shape D900 scanner was better than 99.7% in 6 consecutive scans.
- How do you ensure accuracy in every scanner shipped?
Every scanner shipped from 3Shape has been analyzed using special calibration test objects with a confirmed accuracy below 1 micron. This means that 3Shapes accuracy claims can be traced to international metrology standards, and are validated by independent authorities. Additionally, our quality control system strictly monitors all equipment used in production – even down to every torque wrench used for assembly. We maintain close cooperation between development and production to ensure quick and smooth exchange of information, and this allows rapid and successful innovation of our products.
- How do users maintain scanner accuracy throughout the scanners life-span?
Each 3Shape scanner comes with a calibration object that has a special, highly accurate optical pattern. Every time the user calibrates the scanner using the object, the software verifies that the scanners physical state and internal geometries are correct according to defined mathematical models – thus ensuring accurate scans.
- What questions do you recommend lab owners should ask when shopping for an accurate 3D scanner?
Generally, new buyers should be skeptical about any claim. They should ensure that they fully understand what the vendor's claim includes, under what conditions, and insist that the vendor describes in detail how their claims are verified. If a vendor claims compliance to a defined standard, then often they will be required to publish their test results and buyers can ask to see these.